I had a friend over today and we were building a control surface practice kit, wow they really go fast with 2 people and you form an assembly line type situation..
Anyway, when we were riveting the rib to the spar and the doubler, we came across something I could not explain.
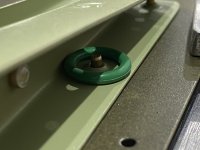
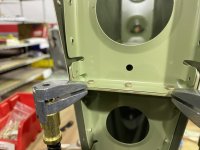
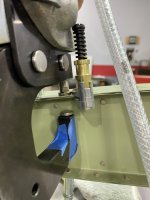
We used AN470AD4 as described in the plans, with the manufactured head on the doubler side. When using the pneumatic squeezer to create the shop heads, the rivet squished nicely but it practically dimpled the rib flange!
The 3-layers of metal directly surrounding the rivet were tight but further away from the rivet a gap between the spar and the rib flange becomes apparent. EDIT: to be clear, there was no rivet squeeze-out between the 3 layers of aluminum.
Drilled out the rivet, cleaned up the flange, repeated the process, but it happened again! really scratching my head here, but moved on to the other side knowing this is not something we'd be OK with keeping on an actual plane.
On the other side I decided we should reverse the rivet (manuf head on the inside, thinner material) and use an offset set with the gun and bar.. those two came out nicely and no deforming metal.
Is there something about using the squeezer on 3-layers? Is it something to do with pressure applied to thinner vs thicket materials stacked together? Trying to learn from this because I know there are places where you've got 3 layers to rivet together pretty early on in the empenage and I'd rather trash scrap than the real thing
Last edited:


