to answer blueflyer's question -
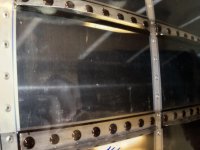
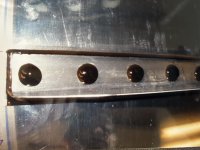
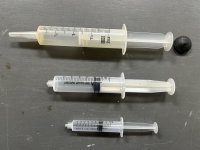
For the Hershey "Kisses" over the rivets - I used the "A" formulation (like Karo syrup) applied with a syringe.
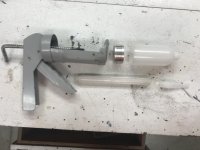
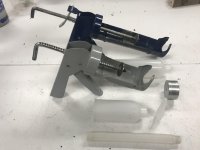
For everything else - I used the "B" formulation (non sag), applied with my DIY Pro Seal "Gun" made from a $3.95 caulking gun + commercially available empty "cartridges" from McMaster-Carr. Way simpler, neater, cheaper & more convenient than using the pre-packaged sealants.
The nice thing about my DIY version of the "gun", is that I make an aluminum "piston" that pushes the sealant out of the cartridge, but it also allows you to "withdraw" the plunger to create negative pressure at the tip, which precludes that ever present "drip" if using the disposable plunger that comes with the cartridges.
YYMV - But this is a cheap way to do a nice (read controlled) job!
HFS