I just got done inventorying my 12is Fuse & Wing kit, nothing major except i'm now the proud owner of some RV-14 roll frames, oops....
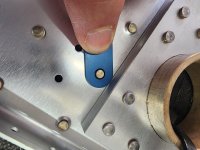
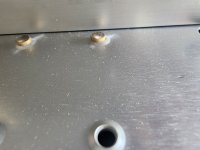
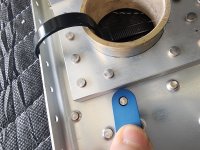
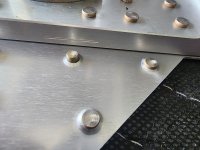
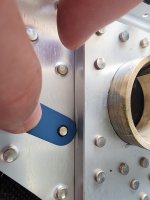
I was about to start on the fuse kit and was inspecting the F-01204-1 center channel, the quality of the rivets does not pass muster, it definitely doesn't pass what is acceptable in section 5. Some of the rivets seem under squeezed, or barely squeezed at all (notably absent on those are squeezer die marks on the factory head size, that other rivets have). There are also some gaps/sloped rivets and what seem like misaligned holes.
I have emailed vans support but i'm wondering if anyone else has had a similar experience, and maybe received a build on note from vans?