Xkuzme1
Well Known Member
Looking for a better way. What are your ideas.
Hanging my 3rd pair of gear leg fairings. The first two were on an RV-4. The third time is going on an F-4 Raider/Rocket.
I do a lot of grass landings so there is probably more movement than most city planes.
The first time was done via Vans plans and rivets and piano hinges were used. Within a couple hundred hours, there was a ton of smoking rivets.
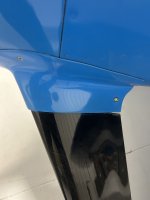
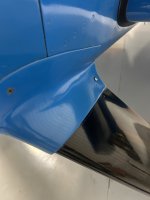
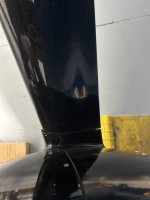
The second time I used piano hinges and number 4 screws. I simply threaded the #4 screws into the piano hinge. It looks cooler (IMHO) and it has lasted the test of time. I have no problem doing it again if I don’t come up with another idea.
What I’m leaning towards now, is a modified piece of aluminum stock to take the place of the piano hinge. Grind the aluminum stock to match the inside profile of the gear leg. Then drill and tap the angle and use #6 screws and skin washers.
Vans designed a fairly rugged plane, but my intersection fairings, gear leg fairings, and wheel pants always get a little beat up… so this time I want to find a better way. Looking forward to seeing some ideas or hearing some opinions.
Thanks.
X
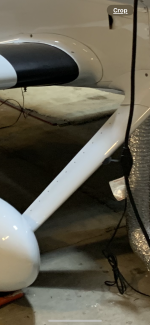
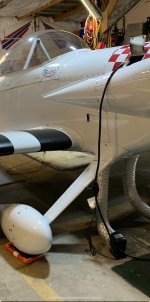
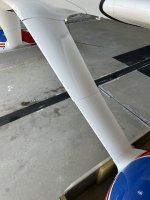
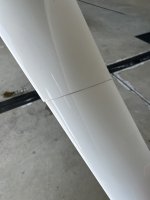
The pics are my RV-4 gear legs with #4 screws.
Hanging my 3rd pair of gear leg fairings. The first two were on an RV-4. The third time is going on an F-4 Raider/Rocket.
I do a lot of grass landings so there is probably more movement than most city planes.
The first time was done via Vans plans and rivets and piano hinges were used. Within a couple hundred hours, there was a ton of smoking rivets.
The second time I used piano hinges and number 4 screws. I simply threaded the #4 screws into the piano hinge. It looks cooler (IMHO) and it has lasted the test of time. I have no problem doing it again if I don’t come up with another idea.
What I’m leaning towards now, is a modified piece of aluminum stock to take the place of the piano hinge. Grind the aluminum stock to match the inside profile of the gear leg. Then drill and tap the angle and use #6 screws and skin washers.
Vans designed a fairly rugged plane, but my intersection fairings, gear leg fairings, and wheel pants always get a little beat up… so this time I want to find a better way. Looking forward to seeing some ideas or hearing some opinions.
Thanks.
X
The pics are my RV-4 gear legs with #4 screws.