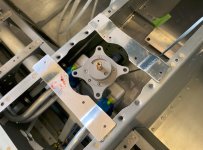
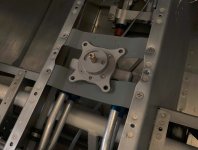
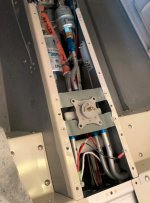
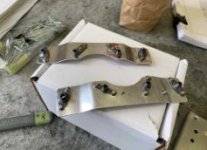
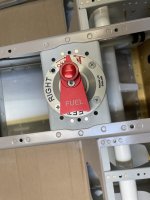
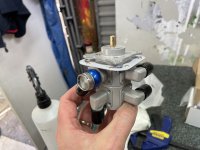
For those who used a non-standard fuel valve such as the FS2020 Duplex valve in the -14 (it has a different bolt hole pattern to the stock FS20x2), how did you mount it?
I wasn’t planning to use the TS Flightlines setup as the cost is just too prohibitive with the exchange rate, and I understand this includes a modified mounting plate.
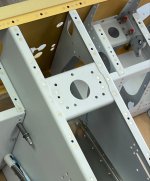
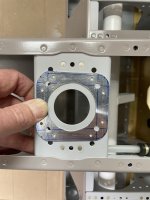
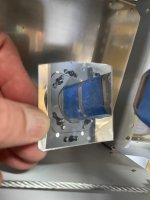
The stock mount plate is 0.032” so i was thinking of just making a plate up and match drilling the mounting and nutplate holes and bending a couple of flanges.
Keen to hear what other people have done.
I wasn’t planning to use the TS Flightlines setup as the cost is just too prohibitive with the exchange rate, and I understand this includes a modified mounting plate.
The stock mount plate is 0.032” so i was thinking of just making a plate up and match drilling the mounting and nutplate holes and bending a couple of flanges.
Keen to hear what other people have done.