yankee-flyer
Well Known Member
By far the worst day in 3 months of steady 5 8-hour days per week. Spent 8 hours trying to make one longeron and probably just have an expensive piece of scrap. The ONLY way to open the angle to 95.4 degrees was to beat on it with a LARGE hammer. Squeezing didn't work and neither did a soft mallet. That opened it but it also caused the longeron to bend up-- the wrong way, Taking out the bend resulted in a wavy upper surface. Using the recommended "metric cresent wrench" to twist the forward part resulted in more bending and a wavy inside surface-- and also variation in the 95/4 degree angle. Gave up with an approximation of the recommended shape and tried putting in the curve. Soft Mallet had NO effect. Called Van's and was told to use a 3-4 pound hammer to bend the longeron. Bending in the curve was slow and also resulted in a bend downward in the longeron. Bending it back up takes out some of the curve and-- guess what-- adds more waves. Test fitting to clecoed verticals on the fuselage side indicates a pretty poor fit and some twist that's going to put a strange curve in the fuselage side. 8 hours on one longeron and no enthusiasm to start the right one.
I see no way to make an accurate piece with a hammer, vise, and crescent wrench. I'm not real enthusiastic about proceeding to assemble the airplane with a piece this poor in place-- two of them since I don't see any way to make the right one better.
Anybody making preformed longerons? If not. there may be a partially completed kit for sale.
Wayne 120241
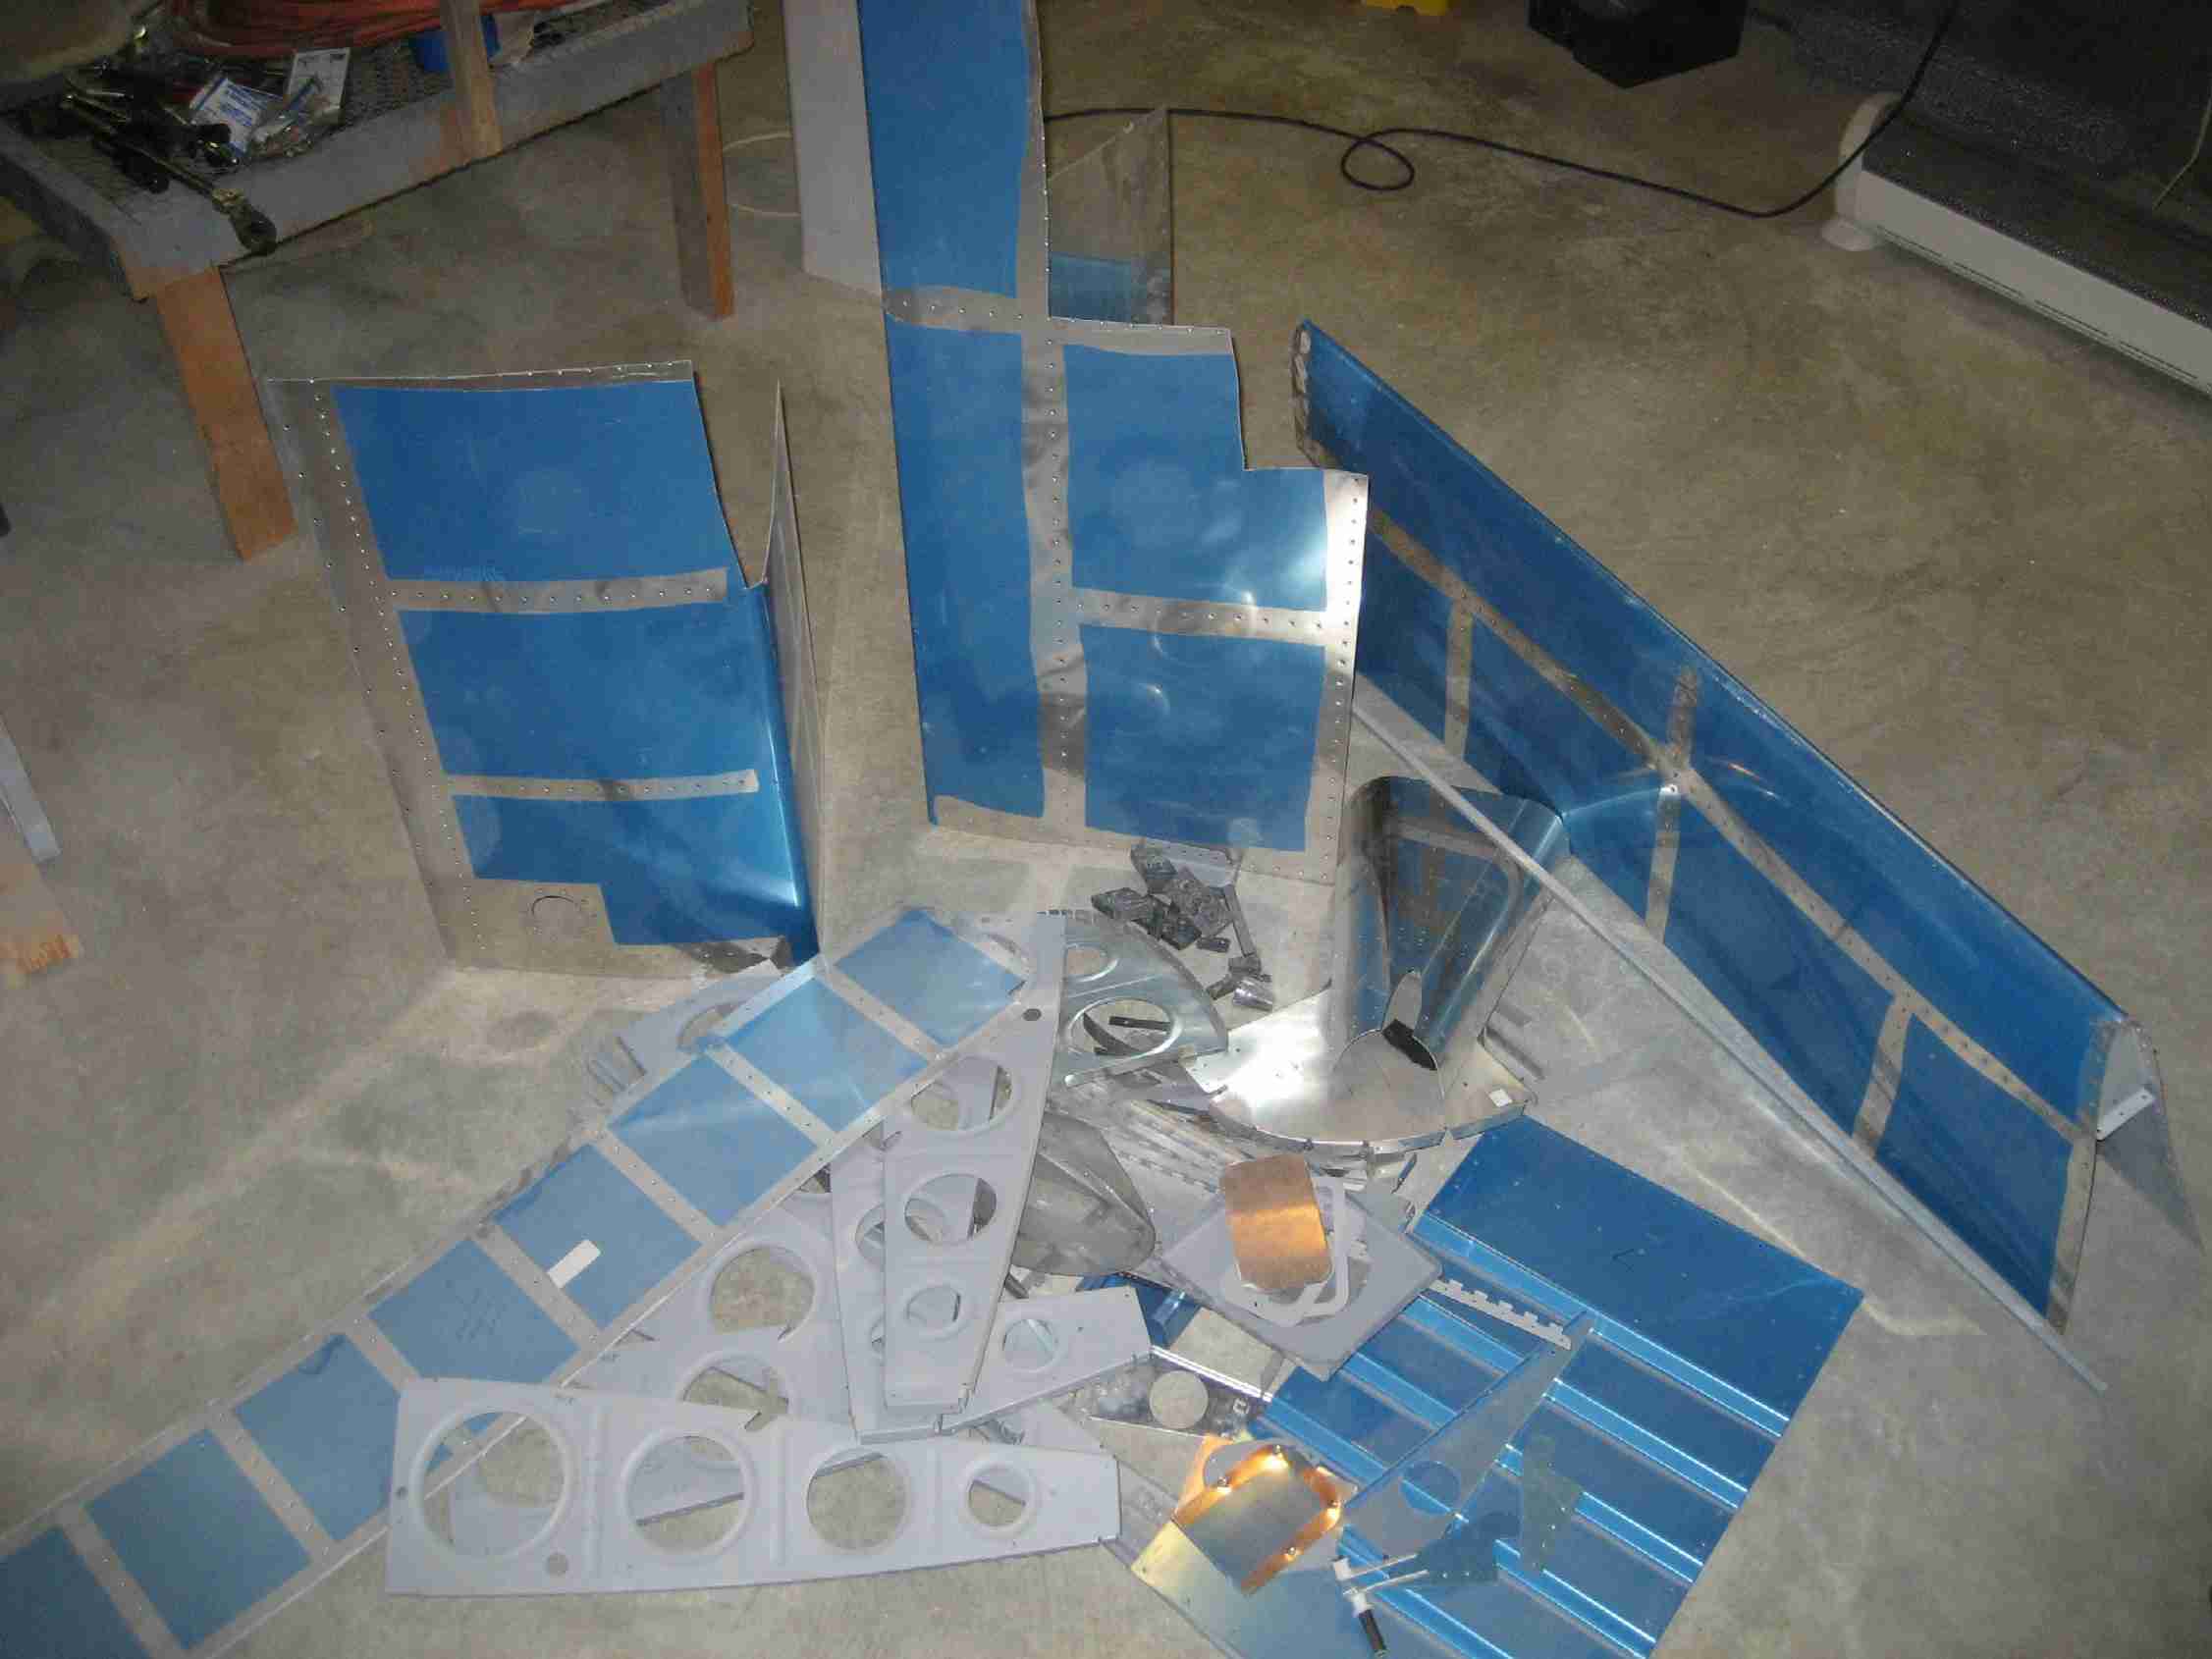
Emp kit completed
Wing kit completed
Fuselage kit stall because of longerons
Avionics and finish kits in hand, engine enroute
I see no way to make an accurate piece with a hammer, vise, and crescent wrench. I'm not real enthusiastic about proceeding to assemble the airplane with a piece this poor in place-- two of them since I don't see any way to make the right one better.
Anybody making preformed longerons? If not. there may be a partially completed kit for sale.
Wayne 120241
Emp kit completed
Wing kit completed
Fuselage kit stall because of longerons
Avionics and finish kits in hand, engine enroute
Last edited:
 if your helper has experience.