What's new
Van's Air Force

Don't miss anything! Register now for full access to the definitive RV support community.

switch-strip

prkaye

Well Known Member
I'm planning to do a recessed strip below my main panel, only for switches. My plungers (throttle, mixture etc) will go on a centre console I'm making.
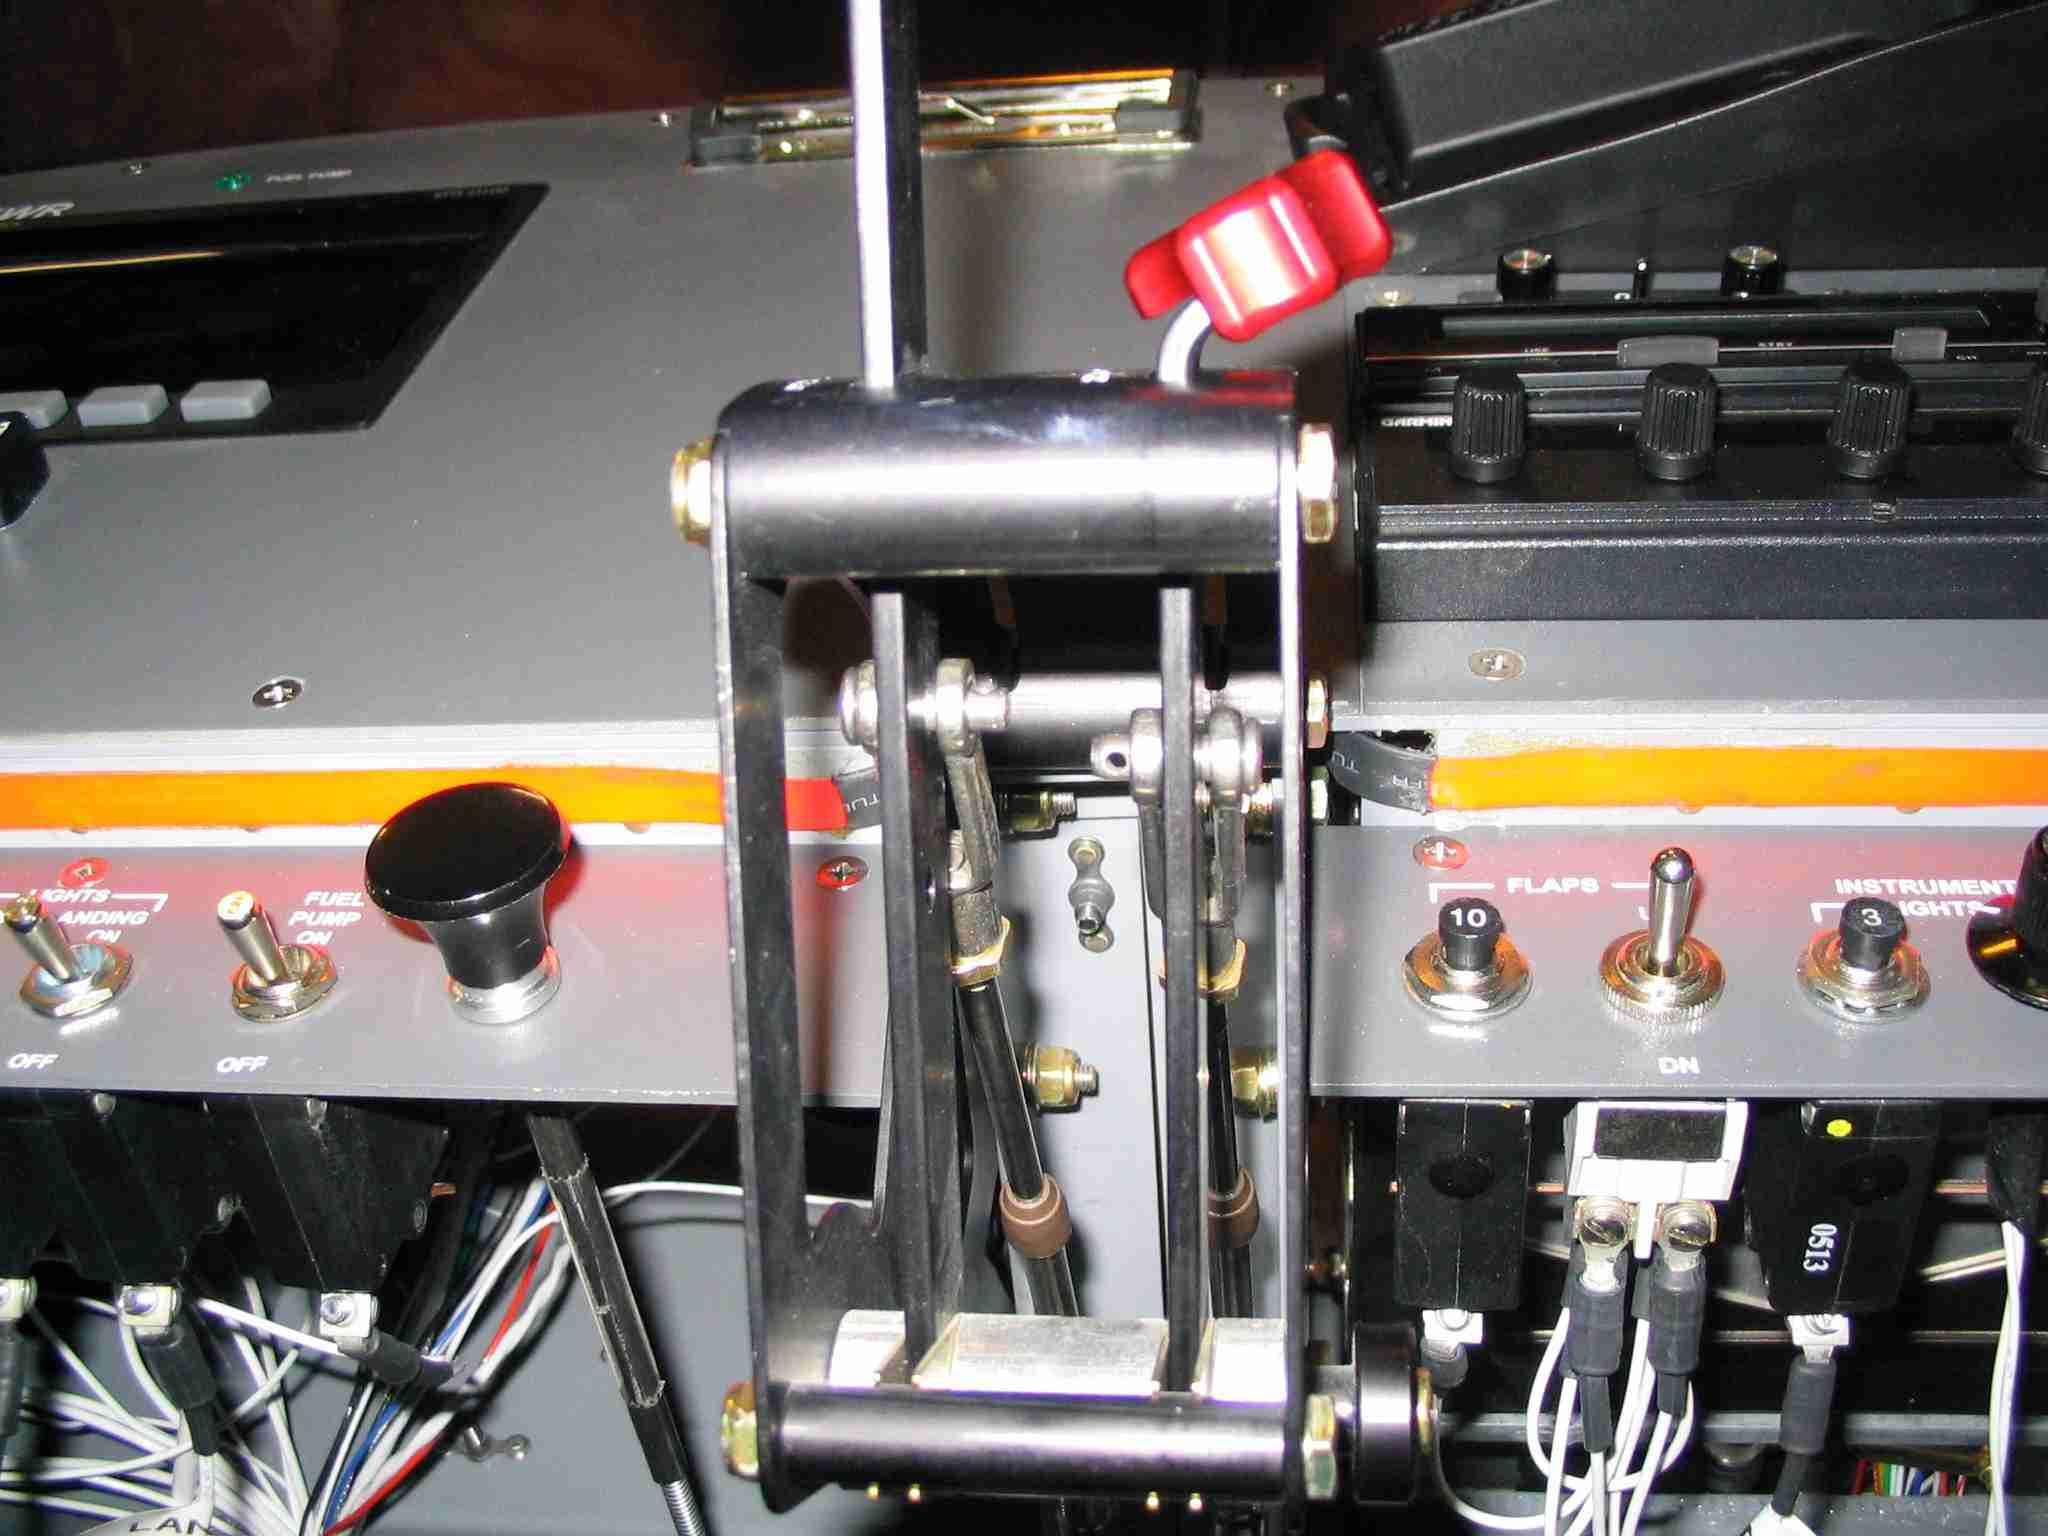
My question, what's the minimum width (height) I should make thie switch strip? It needs to accommodate a row including keyed ignition, split master/bat switch and a bunch of labelled toggles. 1.5 inches enough?

Also, I don't have a bending brake. Wondering the best way to fabricate the switch strip...
 
Ou Sub Panel

Here's a shot taken when we were building the panel on our 9A.

By USCANAM
Even though I have a brake, there are two problems with using a brake for this application
1. It's difficult to get the part to be absolutely without a slight warp,and
2. If using 2024, you can't get sharp bends without cracking.
What we did is use 1/2x1/2x .063 aluminum angle, and rivet it top and bottom to .063" aluminum to form a channel.
You can see the subpanel where we used this technique. Once painted, you cannot see the flush rivets.
Simple!!

Hope this helps
Jack
 
Thanks Jack... I like that solution. Question though... why bother with the angle along the bottom of the strip?
 
Switch Strip

I made my sub-panel 2" tall to accomodate the switches. I have a friend with a brake, so I made it out of 0.063" and made the flanges about 0.75". I bent the top flange forward to hook onto the aft flange on the IP. The lower flange is bent back just like the IP.
I did mine in 2 pieces because of cost. I got a 2'x2' piece of AL from ACS - something 4' long is way more expensive. I put my Throttle right in the middle so it hides the joint (I only have a throttle with my Subaru engine).
You could do something similar with a flat vertical piece and angles, but you might have to trim the angles to clear the switches (no problem, just work).
I used an egraved plastic overlay for labeling, and cut out the sub-panel behind the lettering for backlighting. I'm quite pleased with how it came out.
 
I used an egraved plastic overlay for labeling, and cut out the sub-panel behind the lettering for backlighting

Hmmm, I never considered lighting for the strip. Being recessed, it might be hard to see in teh dark. I dont' want to do anything as fancy as backlit engraved plastic overlays... any ideas/tips for a simpler lighting solution for a recessed switch-strip?
 
Plan ahead!

You guys be careful adding real estate to the bottom of the panel. Especially if you have a slider. It is difficult enough to get under the panel as designed. And trust me, YOU WILL NEED TO GET UNDER THERE!
 
Phil,

I just checked and the sub-panel is 2", as mentioned above.

For lighting I used a 1/2" strip of red electrolumincent tape affixed to the relief. It came out orange in this picture I took, looking up at the throttle quadrant. It is also tied into the dimmer and works great.


Fabian at Affordable Panels had the stuff I used. He doesn't list it on his site so you will have to email him, or find it somewhere else.

To secure the sub-panel, I recommend using hardware store aluminum angle and lots of plate nuts. The plate nuts are so you can remove it easily for future maintenance and upgrades. The hardware store AA does not have a radius, thus two pieces can be nested easier and since this is not a high stress area, they will work just fine.

I riveted the two AA sections together to form a Z-channel and screwed it to the back of my panel and the back of the sub-panel. You can see the screws in the picture I posted. Since you are using the Van's panel, your installation should be slightly different than mine, meaning you should be able to get away with just one piece of hardware store AA.
 
LED strips for lighting

Hmmm, I never considered lighting for the strip. Being recessed, it might be hard to see in teh dark. I dont' want to do anything as fancy as backlit engraved plastic overlays... any ideas/tips for a simpler lighting solution for a recessed switch-strip?
It's actually very easy to see in the dark, but the recess does block the very top, so I put all my label wording on the bottom (can't post pics at the moment).
You can use the LED strips Van's sells (also available cheaper at fiberopticproducts.com) attached the same way N941WR mounted his strips. Make sure they are on a dimmer 'cause they are plenty bright!
 
Thanks bill, that's a great looking solution. I like your strip too.

Fabian...so you will have to email him

I've given up on him... I've been waiting for a response to a couple of emails for over 2 weeks. Not even an acknowledgement. I was seriously considering his modular panel, but since he never replied I went ahead and made my own. Took me one evening to do the cutout of the frame (cut out big sections of Vans panels) and I think it looks almost as nice as the Affordable panels one. Pic of mine (literally only 2 hours work)...

 
Last edited:
Phil,

Your panel looks good, serves the same function, and is affordable.

I also used some blue EL strips on the bottom of the roll bar (I have a tip-up) to light the interior when loading the plane at night. Not that I have had a chance to fly at night since it has been flying. These are wired to the always hot bus, so they can be be turned on w/o turning on the master. Just remember to turn them off when finished unloading. :eek:

For securing the right stick, I highly recommend using a Quick Release Button Connector as described in this thread.

To connect the right side PTT, I used one of these little red RC battery connectors, available on line or at your local hobby store.
bat229.jpg
 
Last edited:
You guys be careful adding real estate to the bottom of the panel. Especially if you have a slider. It is difficult enough to get under the panel as designed. And trust me, YOU WILL NEED TO GET UNDER THERE!

Again...LISTEN to Mel - he knows of what he speaks. Personally (and professionally), I am not a big fan of the separate switch strips and to be honest just don't see much of a benenfit. I can already tell you that while Jacks panel is obviously attractive, it wouldn't work for me. My knees would be hitting it, and I probably would barely be able to get under it while working on it. I sort of consider this one or those things that looks pretty good in theory, but in practice just doesn't get you much except less space in the plane, more work, more weight, more fasteners, etc.. Modular panels are ok (we have done a number of them for customers) and good in certain circumstances, but remember if you have big glass screens you can reach right through those holes - but the BIG downside is that because of the frame, you lose another inch of usable panels pace vertically, plus an inch of hoirzontal space for each web...meaning in Phil's case he's now lost 4" of horizontal usable space on his overall panel. In a panel with lots of goodies, that 4" of horizontal space and 1" of vertical space make a big difference. If you're going to do a sub strip like Jacks, riveting on an angle is fine, except now you lose the width of the angle as usable space (usually 3/4") and have to make it even deeper to account for that. Get a piece of 5052 or 3003, put the bend in it and save yourself that extra 3/4".

If you do have a brake, you'd be surprised at how sharp of a bend you can get by with on 2024 against the grain...just put a shoe or two on it to open up the radius a bit and go fold it.

Anyway, some of the previous posts do indeed point out good examples if you think you MUST have a switch strip, but I'd be carefull about putting in a switch strip just for the sake of putting in a switch strip. Less is more when it comes to panel size, and like Mel said, you WILL end up under there on your back with your head scraping the sub panel, and arms trying to get moved around. Extra length makes that even worse. Been there done that, and I try really hard to convince people to do what they can to make the panel less deep if at all possible. Plus, us taller fold don't like hitting our knees on the panel! :)

My 2 cents as usual!

Cheers,
Stein
 
hmmm... perhaps my best bet is to wait until I've finalized my panel layout. If I then find I have room for switches on the main panel I don't have to worry about the switch strip.
One advantage of the switch strip is that the panel sections can be pulled without having to disconnect all the switches... another layer of modularity.

I'm seriously drooling over the Odyssey 10.4" screen now though, and that will take up a lot of the panel realestate, but perhaps there still will be room for a row of switches below this. Sort of depends on how high on the panel I could put the Odyssey.
 
Full disclosure

Phil,

Vista hung IE again and the following was left out when I restarted it and rewrote the above note.

Mel & Stein are correct, with the subpanel in place there is very little room to side under the panel for future maintenance (and riveting the foreskin). When working under there, my chest just fits and reaching for a tool can be a real pain, figuratively and literally.

The other minor issue is when climbing in, you and your passengers will have to be very careful not to snag the switches with the cuff of your pants. This might be an issue even with them mounted on the main panel. (If I had the money I would have used rocker CB-switches!)

Once you get your panel in place, prop yourself up on some cushions and give it a try, you may decide you don?t like the switch panel.

There is no reason you can?t mount your switches on a plate and put them in the main panel, so they can all be accessed at one time.

All that aside, I really like having the switch panel. It looks good and presents the switches and CB?s to the pilot in an organized fashion, as least in my plane.
 
Removing panel plates....Here again this is something that rarely works like it does on paper. There is a lot more stuff usuall going to the instruments than a few wires, and it's rarely and easy job just to pull out a plate. Things like jacks, pitot tubing, static tubing, coax cables, lights, etc.. With a few exceptions, I've rarely seen a modular panel where one can easily remove the modules - although there are some on this sight who've done a marvelous job of it. My next question is, when/why will you be removing the plates of a modular panel once the plane is flying? My point is you're going for "modularity", but you're also considering a 10" Odyssey...when you remove that thing you'll have a big honkin 10" hole in that side of the panel. So once you remove that huge screen, what more do you gain by removing that plate? Not arguing here, just forcing the devil's advocate position a bit. Not wrong/right, just different perspectives.

Cheers,
Stein
 
Stein,

You bring up some very valid points, no argument from my end. (And you have a lot more experience with panels than most everyone on this forum, including myself.)

The only time I have removed part of my panel, after I started flying, was to install the Dynon autopilot head. It made cutting out the remaining part of the support rib and running the wires much easier than working from under the panel.

Of course you are correct regarding the big honking hole created for the EFIS screens. Without those in place, you do end up with a lot of room to work, assuming the tray(s) don't get in the way.

Hey, I?m just trying to justify the money I spent with Affordable Panels. ;)
 
you have some good points there.... you're probably correct in that the modular panel may rarely be a benefit to me, but I guess my approach is that it can't hurt. It's at least possible that someday I'll be doing something and will be glad I made it modular, and teh cost of that insurace is only a very small weight penalty and a bit of extra effort (really not much though - I did my main frame cutouts in one evening).
 
Thanks Jack... I like that solution. Question though... why bother with the angle along the bottom of the strip?
Phil
As you can see from this photo, there wasn't much left of the 2" strip after I installed all the components, so I wanted the extra stiffness.
I'm 5'11", 197 pounds, tip up, and I have not had a problem getting in and out of the plane because of the sub panel.

By USCANAM

Jack
 
Last edited:
Access Panels

I guess since panel access has been mentioned, I realized before I even started to build what my physical limitations were, so access panels were number 1 on the list of mods. I know other builders have installed them, so since I have some photos, and also since I bought an Image Shack subscription, I might as well post a picture of it.

By USCANAM
Since the plane is finished and painted, at this point in time, I have not had to remove either one of them (identical on the port and starboard side), but they were absolutely used all the time in the building, plumbing, and wiring.
For example, I have full access to the pedals and all their plumbing without crawling under the panel.
Jack
 
I wonder how useful such access panels on the top there would be for a slider (windscreen in the way)...
 
My two cents

I'm in the middle of wiring a fairly complex panel with a big radio stack and bunch of glass displays in it. I have an Affordable Panels modular panel, which is nicely made, but I am not seriously planning to ever remove any of the pieces. If you have any kind of decent-sized glass display in your panel, it's far easier to just pop it out and reach through the hole (or stick your head through if it's big enough) (the hole that is, not your head).

Here you can see what I'm talking about:

20080920_panel3.jpg


My panel is slightly extended (an inch taller than stock) but I made darn sure to give myself plenty of legroom. I probably could have gotten away with a shorter panel if I didn't need to leave 3/4" at the bottom for the modular panel frame.

Shorter version of what I just said: Stein and Mel are right, listen to them. :)

mcb
 
Acess Panel = GOOD!!!

Jack, those access panels are an EXCELLENT addition...nice to have on a tupper, but REALLY nice to have on a slider. Yours appear to be exceptionally well done, and at some point down the road you'll find them to be an invaluable lifesaver. I was too dumb/lazy to put them in my old RV6, but any RV I build from now on that is a 6/7/9/10 will for sure have some sort of access panels...this is a mod I really like even though I haven't done it myself (see, I CAN agree with things other people do)! :)

Jack, I see your switches across the top of the panel and it reminded me of something. In a tipper that works quite well because you can get to them, but it's a big NO-NO in a slider. You have quite a panel there with an interesting mix of equipment - looks like you covered a lot of bases.

Cheers,
Stein
 
Well................we all have opinions I suppose. :)

I have a 2" strip that's installed on a slight angle. The center section is straight with the rest of the panel for the throttle, prop, and mixture.

I'm a sheetmetal person by trade, own various brakes, and therfor the bends were a non-event. I did use some metal around the brake shoes to get a larger radius.

As to getting underneath the panel, the 2" extention seems to make little difference. I take out the right seat and joystick; then shove some pillows under there. Do I like working under there? Not really! :D

The welded on handholds on my roll bar, sure help for getting out!

Personally, I like the extention a lot, and I'll even keep it if I re-do the panel for glass instruments. It's screwed on the original flange with nut plates. My panel is three pieces screwed to the original panel framework. The three panel fronts rest on this 2" extention.

I have no problem getting in and out of this plane. I am 6' 1". However, others that are not use to it, might feel that it's slightly in the way when getting in and out. But what the heck, RV's aren't famous for ease of entering and exiting, anyway.

My joystick doesn't hit it, nor do my knees. If I happen to shove my feet under the rudder pedals on a long flight, my knee can rub against this while I re-position my feet in front of the pedals. But it's no big deal! Would I do it again......yes!

L.Adamson --- RV6A

 
Last edited:
Jack, I see your switches across the top of the panel and it reminded me of something. In a tipper that works quite well because you can get to them, but it's a big NO-NO in a slider. You have quite a panel there with an interesting mix of equipment - looks like you covered a lot of bases.

Cheers,
Stein
Thanks Stein for the nice comments.
As for voicing your opinions, that's what this forum is here for...hopefully to learn from people who have experience, and from what I've read that you've written, you are indeed someone to learn from.
I learned about the convenience of access panels from my old Mooney M20F that had the panels in front of the windscreen.
When I did all the 201 mods which included the newer sloping windscreen, I was still able to install a triangular panel on each side, which was better than nothing.
This is basically the 5th instrument panel I've designed and built, and after 6000 hours of flying you tend to know what YOU want in a panel and how it should be arranged, and what you're comfortable with.
The switches on top came from having the switches on the bottom of my Mooney's original panel, where I was always putting on the wrong switch.
When I redid the Mooney's panel, they were on top. When I finally get my new flatbed scanner hooked up, I'll send you a photo of the Mooney panel.
The photo of my RV panel is not up to date, as I have added colored sleeves on each switch.
Regards
Jack
 
Back
Top