Hornet2008
Well Known Member
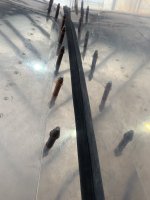
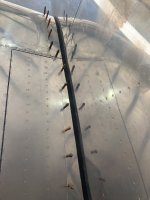
There are two ways the rubber can sit. The instructions for the 9 are very scant in the documentation. Does the rubber sit flat side up or other way. Did people trim this rubber? I trimmed the starboard one and now have a gap between fuse and fairing. I can push it over to touch the fuse but not happy to do this as I've read on the forums of this rubber coming loose and thrashing about in flight. Did builders glue the rubber inside the fairing? Interested to hear what others did.