I?m to the point of closing the bottom of my 9A wings, after taking care of a few things like wiring and autopilot. I had a builder?s site bookmarked that had a suggested plan for making the final skin rivets. Somehow I?ve lost that link. Does anyone have a closure plan that worked well.

Van's Air Force
You are using an out of date browser. It may not display this or other websites correctly.
You should upgrade or use an alternative browser.
You should upgrade or use an alternative browser.
wing closure plan
- Thread starter ka6dan
- Start date

I?m to the point of closing the bottom of my 9A wings, after taking care of a few things like wiring and autopilot. I had a builder?s site bookmarked that had a suggested plan for making the final skin rivets. Somehow I?ve lost that link. Does anyone have a closure plan that worked well.
It sucks....
Just closed up mine about a week ago.
Wound up doing it on the wing stands (as opposed to laying them flat on a table.
It is a two or three person job.
Spend some time figuring out your rivet strategy.
I wound up riveting from the trailing edge down about 1/3 of the ribs. I then used access panels, lightning holes. Did the entire trailing edge and first third of the ribs. Then I worked down the ribs about 4-5 rivets per rib at a time.
Last I went back and did the leading edge.
The trailing edge was the most painful, by the time you get down to the leading edge it isn't too bad.
-Dan
wirejock
Well Known Member
Bottom skins
I did the inboard ribs solo and the wings in the jigs. I checked for straightness after each skin just to be sure. There's enough access to reach to buck and hold the gun but as Dan mentioned, it's far easier with two. I made a shim for the tungsten bar so the face would be square to the rivet when the bar was laying against the rear spar. I also taped a lanyard to the bar so it wouldn't fall. Get a pair of old socks and cut the toes out. Slip them on your arms to protect from rib scars.
The outboard skin requires some careful planning to make sure you don't rivet yourself into a difficult to reach situation. Dan is right on. Start inboard rear spar and work in an "L" pattern toward the outboard main spar corner.
I used a string in the outboard skin to support the end and allow it to swing away from the wing for access.
Photos on my blog if your interested. YMMV
dbaflyer
Well Known Member
I used this, but not to the tee. But it helped a lot to think through the order.
http://www.vx-aviation.com/rv-9a/Tips.html
Look for this section
Single-handed riveting of RV-9A bottom wing skins (January 4, 2004)
http://www.vx-aviation.com/rv-9a/Tips.html
Look for this section
Single-handed riveting of RV-9A bottom wing skins (January 4, 2004)
It certainly can be done solo, I did it that way, but it's not easy. The rib flanges are oriented different directions (left/right) so that you can reach all the rivets to buck them either around the curled skin edge or through the wing root or the access panels. If you've got long enough arms you can shoot and buck them all yourself, otherwise it's definitely a 2-person job for a handful of those rivet lines. Start in the center of the wing (I did mine on the stand) and work outward one line at a time.
N941WR
Legacy Member
That's exactly how we did ours. However, we started in the middle of the skin and worked out ward and down.It sucks....
Just closed up mine about a week ago.
Wound up doing it on the wing stands (as opposed to laying them flat on a table.
It is a two or three person job.
Spend some time figuring out your rivet strategy.
I wound up riveting from the trailing edge down about 1/3 of the ribs. I then used access panels, lightning holes. Did the entire trailing edge and first third of the ribs. Then I worked down the ribs about 4-5 rivets per rib at a time.
Last I went back and did the leading edge.
The trailing edge was the most painful, by the time you get down to the leading edge it isn't too bad.
-Dan
In this picture, you can see that we started in the middle of the skin but along the rear spar and are riveting towards the edge of the skin. Then we cam back and started in the middle and worked our way outboard. Once the skin was riveted to the spar we went to the middle rib(s) and came down five or six rivets and then moved over to the next rib. It was a pain but created a straight wing.
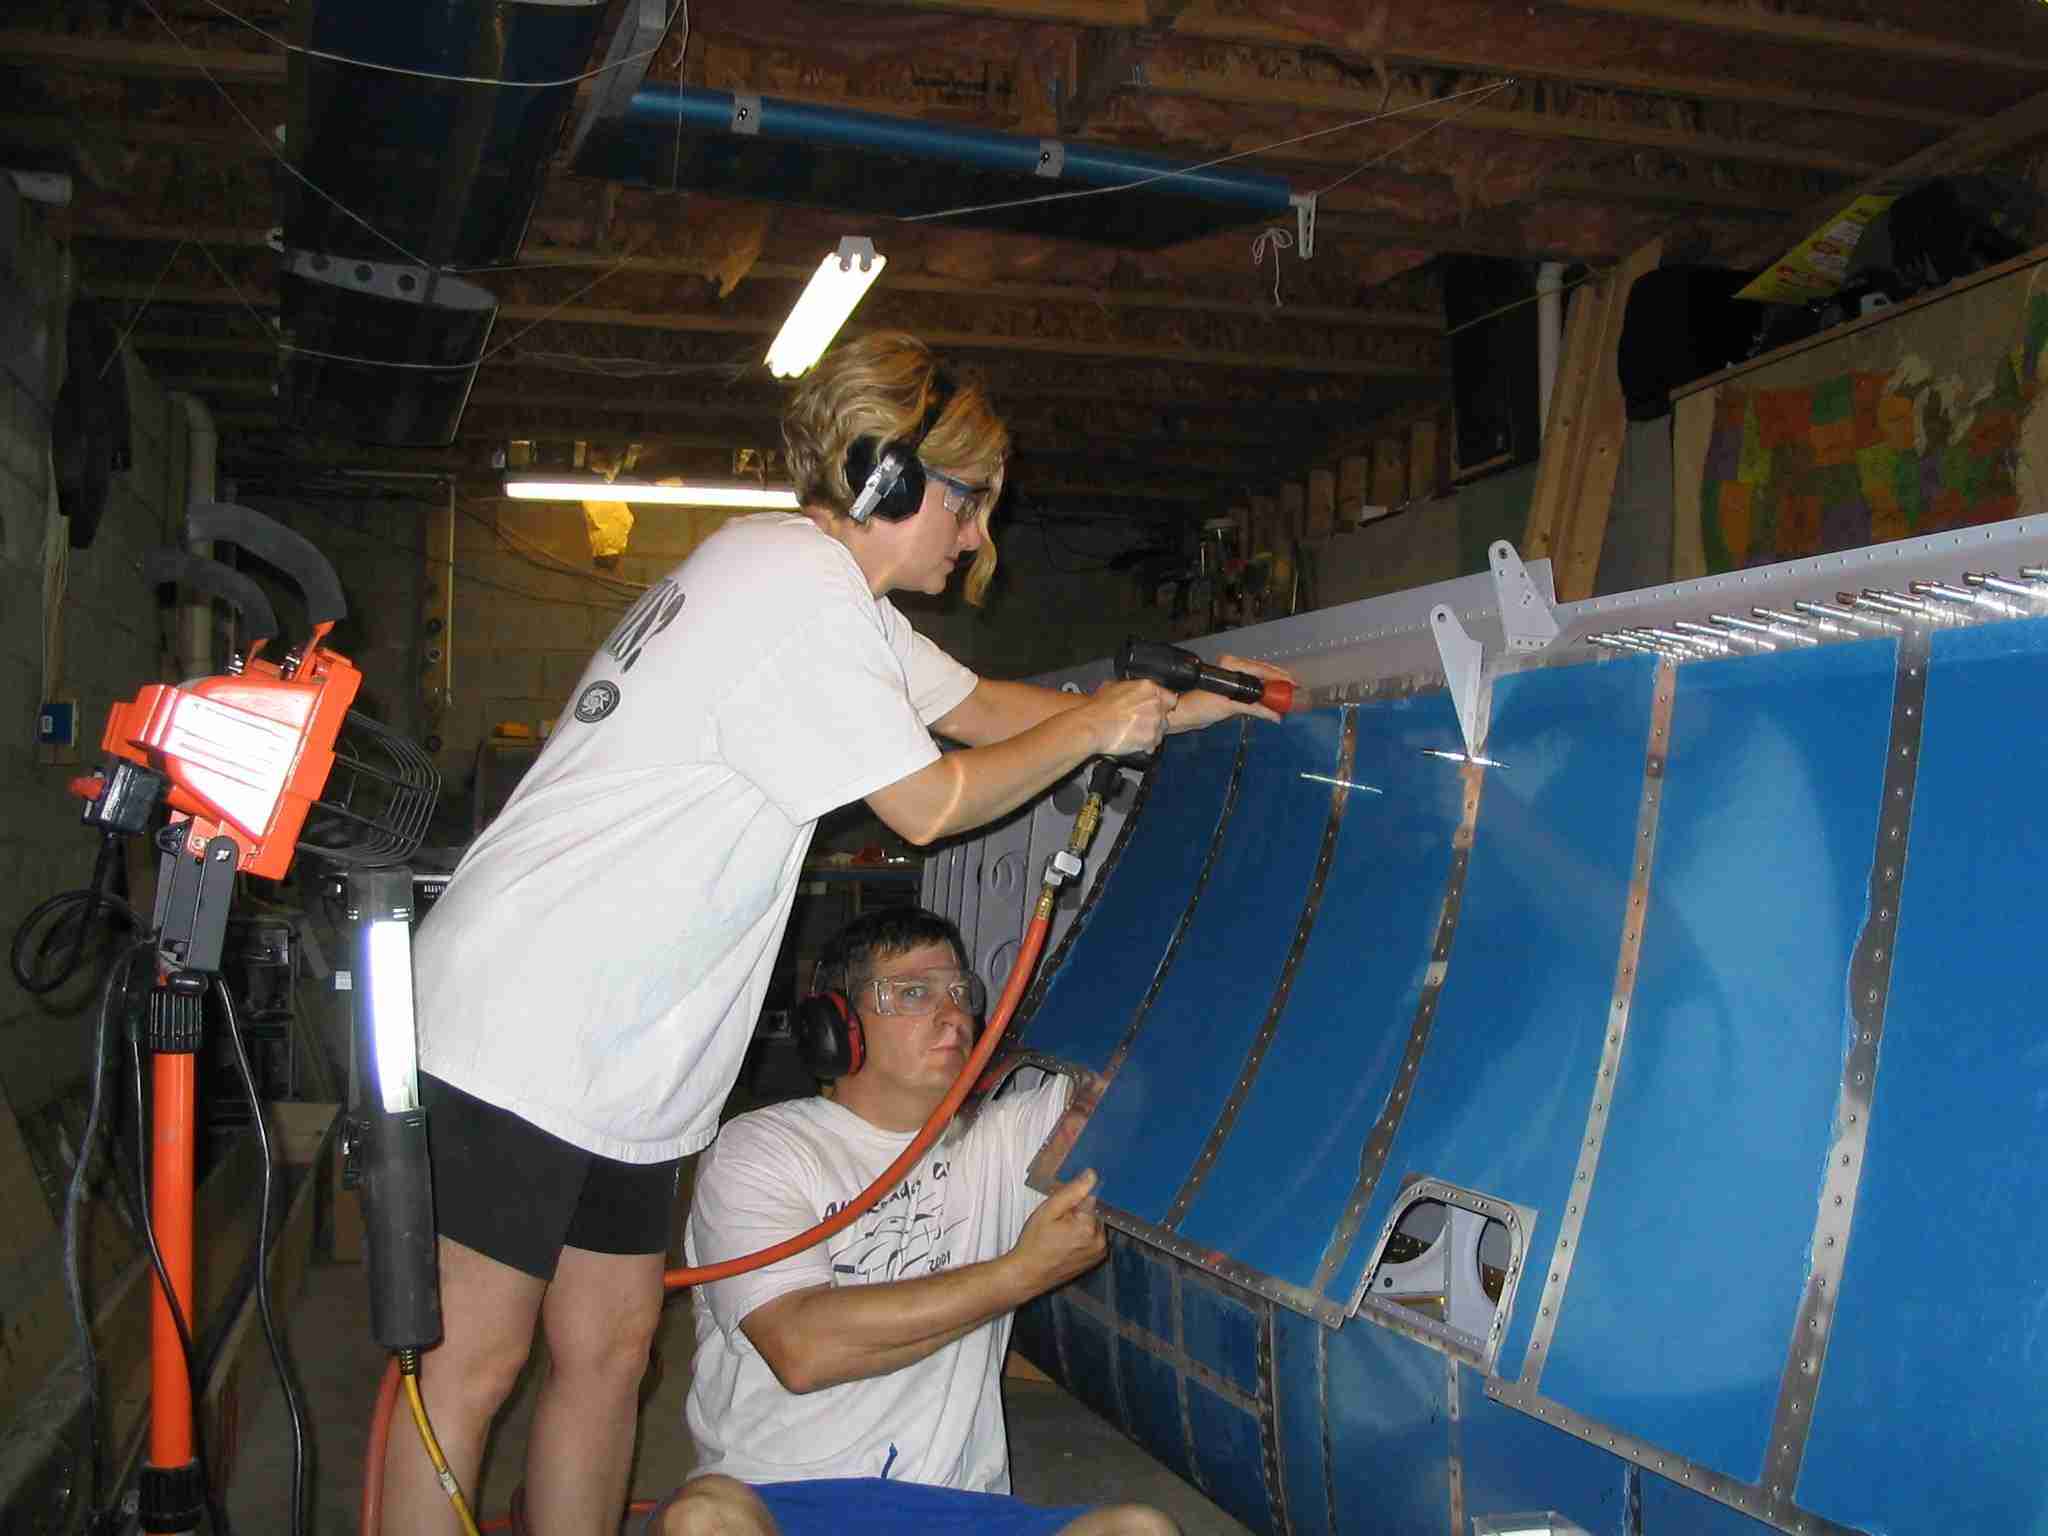
(Click to enlarge)

